Wednesday, June 19, 2013

Room Tour!


Sometimes moving a room around can be great! Although I'm not usually a fan of change, I find that re-organizing my space every now and again can really reinvent a room! So, a couple of weeks ago I decided to do just that-start over with my room and have a de-clutter. But, there was a catch... I had to do it without purchasing anything brand new.

Unfortunately, I rather stupidly didn't take any before photos, I know right?! but there are a lot of pics displaying the finished result. I wanted to create a cosy room, one that looked inviting, which is quite tricky as my room is quite squared shaped with a dominating feature wall. But I think it's looking pretty good now!


First up is the trinket table (pictured above). This is where the majority of my nick-nacks are, such as an old Pepsi Cola pic and a stack of notebooks. It's also where I store my nail polishes and display bits of old jewelry. I bought the old Coca Cola tin ages ago, and since then it has been battered beyond belief, leaving it in 'vintage' condition. I used to use it as a lunchbox, but now the retired old tin is the home for my ever-growing collection of nail enamel, such as my trusty Essie In Stitches and my trio of Rimmel Kate Moss Salon Pros. For the tea lights, I simply stole a saucer from downstairs and put a diddy candle in it. Not only is it cute, but it also lights up the room pretty well when paired with a selection of other burning tea lights! I bought the retro looking stopwatch from Claire's (yes, Claire's accessories, the place where all my pocket money was spent back in the day!) a year or so ago now, and although I rarely wear it, it's great for display.


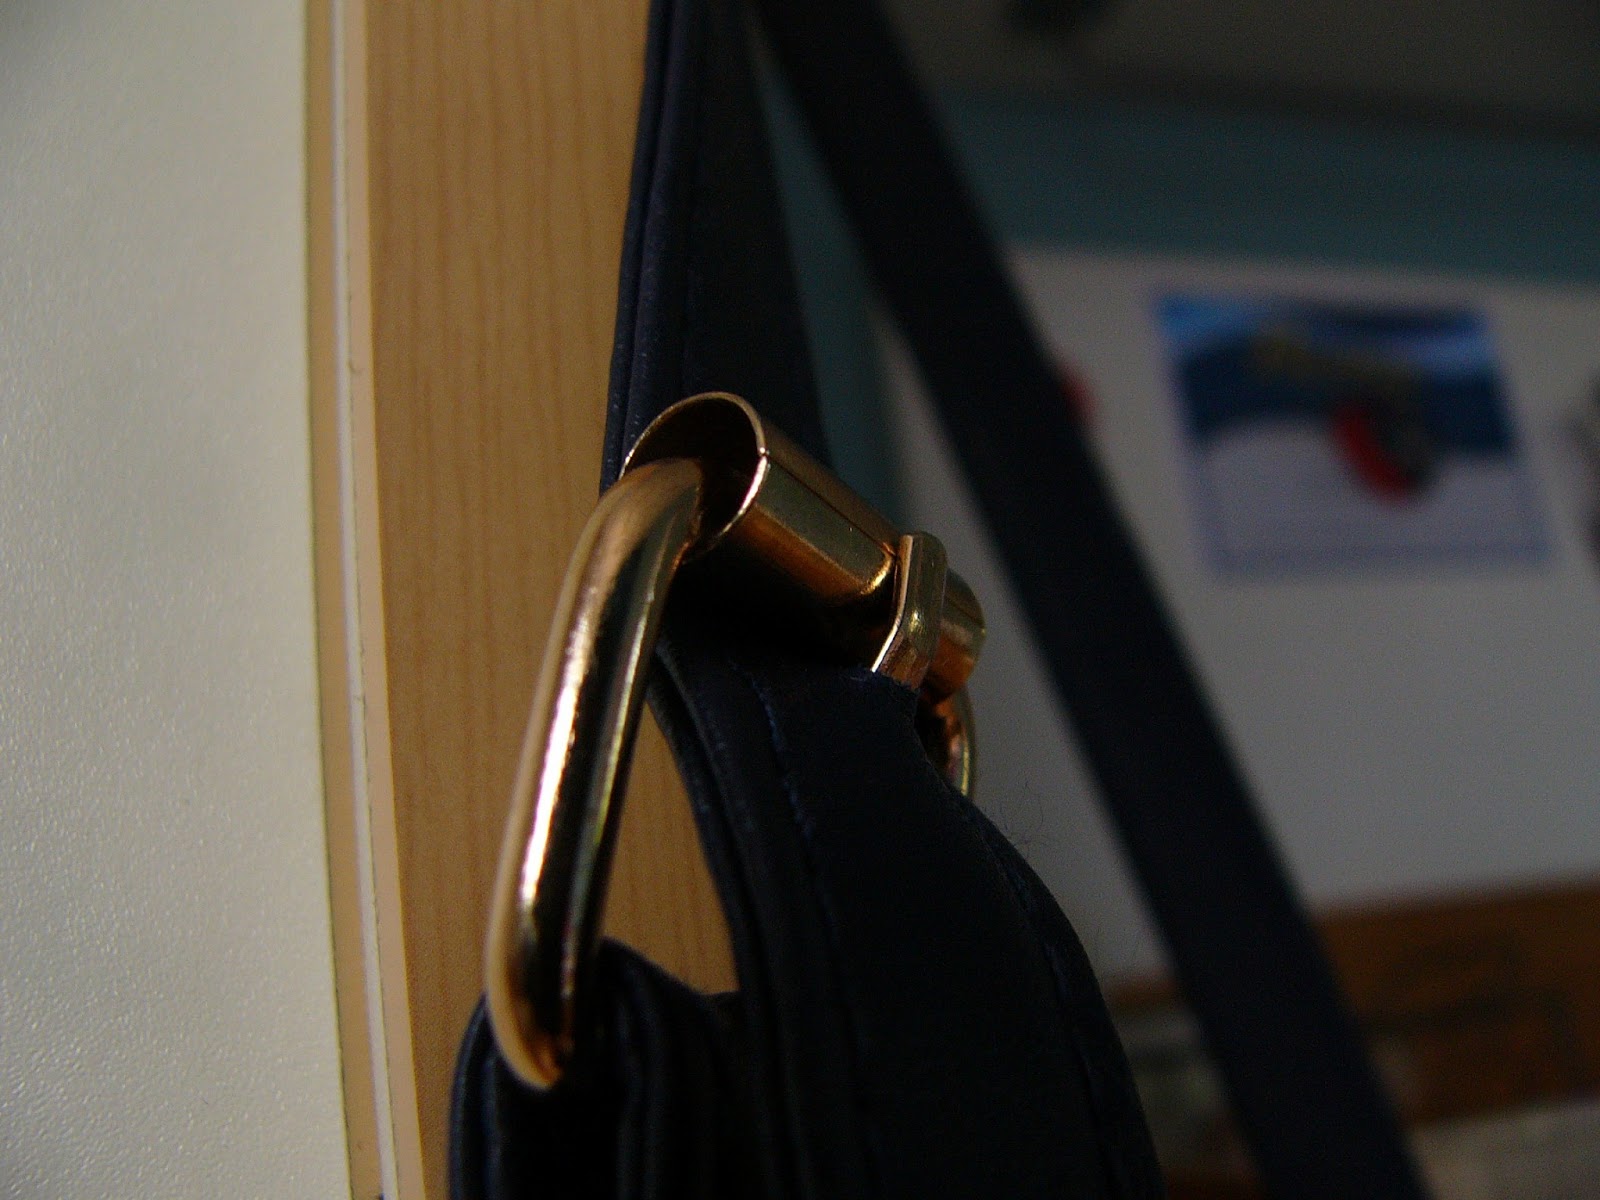
This little cupboard was found by a friend of my Mum's in a skip. Sporting a blue and yellow colour scheme designed by the previous owners, it was soon upcycled and passed on to me. On top of this chicken wire sideboard is a lamp, 70p candle from Dunelm and a stack of vintage books, on which my camera is usually sat. It sits next to my wardrobe on the teal feature wall, but as both pieces of furniture are white, it really breaks up the blue. A few necklaces are hung on the wardrobe hook, along with my most-worn belts.


Whilst clearing out the all-too-cluttered loft, we came across this child's chair. Originally an orange stained wood, it needed a paint, but it now serves as my bedside table. I seemed to have failed again, however, and don't have a pic of said bed! It's a Malm from IKEA, but being King-sized and put on the feature wall, it was previously in the way. It's now tucked under some shelves from the same shop.


This is another trinket treasure trove. Positioned on my shelve, it houses all other bits and bobs.


And finally, my messy makeup station! This table is very old, and like the chest of drawers pictured at the start of the post, has been passed down many decades. I use this as a makeup desk, and is where most beauty products are photographed. I love it, and it sits in the corner of the feature wall.

So that's a brief overview of my bedroom!

El
X


Friday, June 7, 2013

30 Day Photos - Day 4


The criteria for Day 4 was something green, so whilst browsing the frankly rather boring aisles of the supermarket, I thought I'd take today's snap!


I love this photo, but I got a few strange stares whilst snapping it! Tomorrow's theme is something from a high angle, so get creative people!

El
X

30 Day Photo Challenge - Day 3


Today's theme was clouds, and it's been very interesting watching them. I tried to take a pic this morning for the challenge, but as the sky was full of a few too many clouds (like, white sky...) I had to wait until the afternoon. I took this snap around lunch time and just about caught a cloud, with a bit of blue sky too! However in the later afternoon, the clouds had all disappeared! Ahh, the problems of being a cloud-spotter...

Day 4 is something green!

El
X

Wednesday, June 5, 2013

30 Day Photo Challenge - Day 2


If you happened to stumble across yesterday's post, you will have heard the astounding news about my 30 Day Photo Challenge. I think that half of the battle is going to be posting for 30 days straight, but it's definitely worth it! Today's pic is what I wore today, but as I was cycling, my outfit wasn't very innovative. Apologies. But I did take this snap in my garden this afternoon...

Hoodie - Dorothy Perkins. Top - Miss Selfridge. Long Cardigan (not really visible) - Next. Jeans - New Look 

Hope you liked it! Tomorrow's theme is Clouds, so give it a go and join in!

El
X

Tuesday, June 4, 2013

30 Day Photo Challenge - Day 1


Today's post is one of a slightly different nature. The 30 Day Photo Challenge- we've all seen them come and go, but this one caught my eye. It's not your typical restrictive and boring set of 'rules' if you like, so I thought I'd blog it. Although it's not strictly vintage, it does have a nice vibe to it, therefore just about squeezing itself into a post. I'll be blogging everyday (yay!) as I am aware this El's Vintage Blog has taken a bit of a backseat recently whilst I've been building up my Beauty Blog, but now I'm back!

Today's criteria for photography is a self-portrait. I love the fact that it isn't entirely specified, leaving room to have a play with different approaches. I'm very pleased with my hair do today, so that's the feature of the first photo!

proudly sporting my pony
  I'll be posting everyday for the next 30 days, and feel free to join in! Tomorrow's one is what you wore today so why don't you have a go?

El
X

Wednesday, May 22, 2013

My Style - I've Found A Satchel!


For years and years, possibly exaggerating slightly, I've wanted a satchel. I've posted about my love for them, and so when I finally found the perfect one, I was thrilled...


The blue, pink and taupe/grey colour scheme gives this bag a modern twist and the two straps, one shoulder length, one a handle, makes it all the more practical. It has an array of pockets inside and out, and guess where it's from?

Primark, £8. Yes, Primark. 

And since I'm so chuffed with it, I thought I'd show you what's in it...

The bag has a pocket on the inside at the back which is perfect for A5 paperwork or anything else of a similar size

It also has a pocket at the front which works well as a phone compartment


I always carry a couple of notebooks with me- one for notes (duh!) and one to journal my homeschooling process. The former from Paperchase, the latter from Martha Stewart.


My Cath Kidston Coin Purse is something else that accompanies me, and I also have the key fob to match. The little but practical purse is great for loose change and a couple of notes.


If I get a little sneezy, I'll whip out one of my Cath Kidston tissues. These aren't just cute, but handy if you've encountered a runny nose.


And now, my personal fav, my makeup bag. I have a spotty Cath Kidston Zip purse that houses my touch-up stuff, and it's the perfect size for everyday products.

left to right: Maybelline Colour Tattoo, the POREfessional, No7 Stay Perfect Eye Shadow, Real Techniques Shading Brush, Benefit BADgal Plum Mascara, Collection 2000 lasting perfection concealer.
What do you guys think of my latest addition to the handbag family?

El
X

Thursday, May 2, 2013

DIY - Personalised Journal


Paperchase is one of my favourite shops. The large array of notepads, pens, pencils- stationery heaven! I spotted a plain brown notebook for £3.50, and I loved it, but it was missing something. I could have met someone else with the exact same thing, so I wanted to do it up, and give it a bit of a vintage twist!
Here's what you will need to personalise your journal...


A Plain Notepad of your choice. As mentioned previously, mine was from Paperchase for under four pounds.


A Date Stamp or set of Letter Stamps. You can either print a word onto your book, or a date or time!
I got my date stamp from a fair for 50p. The last year is about 2007, but you can buy new ones for a fiver or more. The alphabet stamps were a good price and were purchased from a small craft boutique.


And finally, some ink! You can buy this from any arts and crafts shop and they come in lots of colours. I think that black ink works best with a brown background, so that's what I used...


So now you've got everything you need, let's get started!


Grab a scrap piece of paper and practise what you are going to stamp. This step is crucial as it gives you an idea of what looks best and how to space your letters!
Press a letter into the ink (I spelt 'My Journal') and then press it onto the paper. To avoid getting ink on another part of the stamp that isn't the letter, take a tissue and wipe it around the edge of the stamp!


 Keep practising until you are happy and confident using the stamps and have a clear idea of what to do. Next get your book and put a piece of paper across it. This will be your ruler and keep all the letters in line! Now you can start stamping...


 And that's it! If you give this a go then post a pic on instagram and use #elsvintageblogdiy to let me know!
Have you ever used letter or date stamps?

El
X